Showing posts with label hair. Show all posts

Sunday, October 20, 2013

Ada Lovelace: Finished Product

I finished this project back in late July, but right afterwards life geared back up again for school. This afternoon I find myself with some free time, so here are the last of the construction photos and some of the finished product.

Finishing the Wig

Bonnie Figured out that we needed support for the side rolls
Like this!

hair wrapped around the rolls
Finished with comb, veil, and flowers
adding lace to the vaeil


I had to cut the lace in parts to handle the curves

Lace attached to the wig/comb

I had to construct it in two pieces: one sewn directly to the wig, and the other sewn to the comb

attaching the underveil to the wig

Sleeves

I made a test version of the sleeves. The sleeves were just a rectangle of fabric cartridge pleated at the upper edge and gathered at the elbow. I supported the pleating with a strip of batting. 
Cartridge pleats marked & stitched

I trimmed the bottom edge of the pleats with some braided trim and added some leftover lace to the gathered elbow. 

finished bodice!


helper cat

Everything together on the dressform


Accessories

The gloves were a thrift store find. I sewed some trim from my grandmother's stash around the cuff. 

After doing some quick research on period shoes, I decided that ballet flats would be a close analog. I did take the sparkly bows off, though. 


 FINISHED!

I won best recreation at the Shore Leave 35 Costume Contest. It was the first contest I'd ever entered y myself. It was pretty great. The response to the costume was unexpectedly positive. Many women were thrilled to see Ada there to represent for female programmers.


Friday, July 19, 2013

More Lovelace Previews

The fun continues


tacking down the bodice pleats with running stitches
Being careful not to let the stitches show on the organza

My super talented friend, Bonnie, styling my wig for me. So good!


Intermediate wig stages


Saturday, February 23, 2013

Making a Hair Switch


I have become a little obsessed with recreating Victorian hair styles. There is a terrific tutorial over at http://yourwardrobeunlockd.com/articles/free/advanced/408-5-victorian-hair-styles that relied on hair switches, a ponytail extension that you must pin into your hairstyle. 

I purchased switches from Wilshire Wigs, but I was disappointed by the color match. I realized that I was fighting an uphill battle trying to guess at the right color, so I decided to make my own. I was able to use the switches I bought as a guideline. I went to my local wig and braiding store to find weaving hair that would be a better blend. 

Update 2/25/13: Lynn McMasters has an alternate version of how to do this that involves using a sewing machine. The article, "The Makings of a Natural Form Era Hairstyle" can be found under the "Articles" section of her website: lynnmcmasters.com

Here is my attempt at step-by-step documentation of my process. Enjoy!

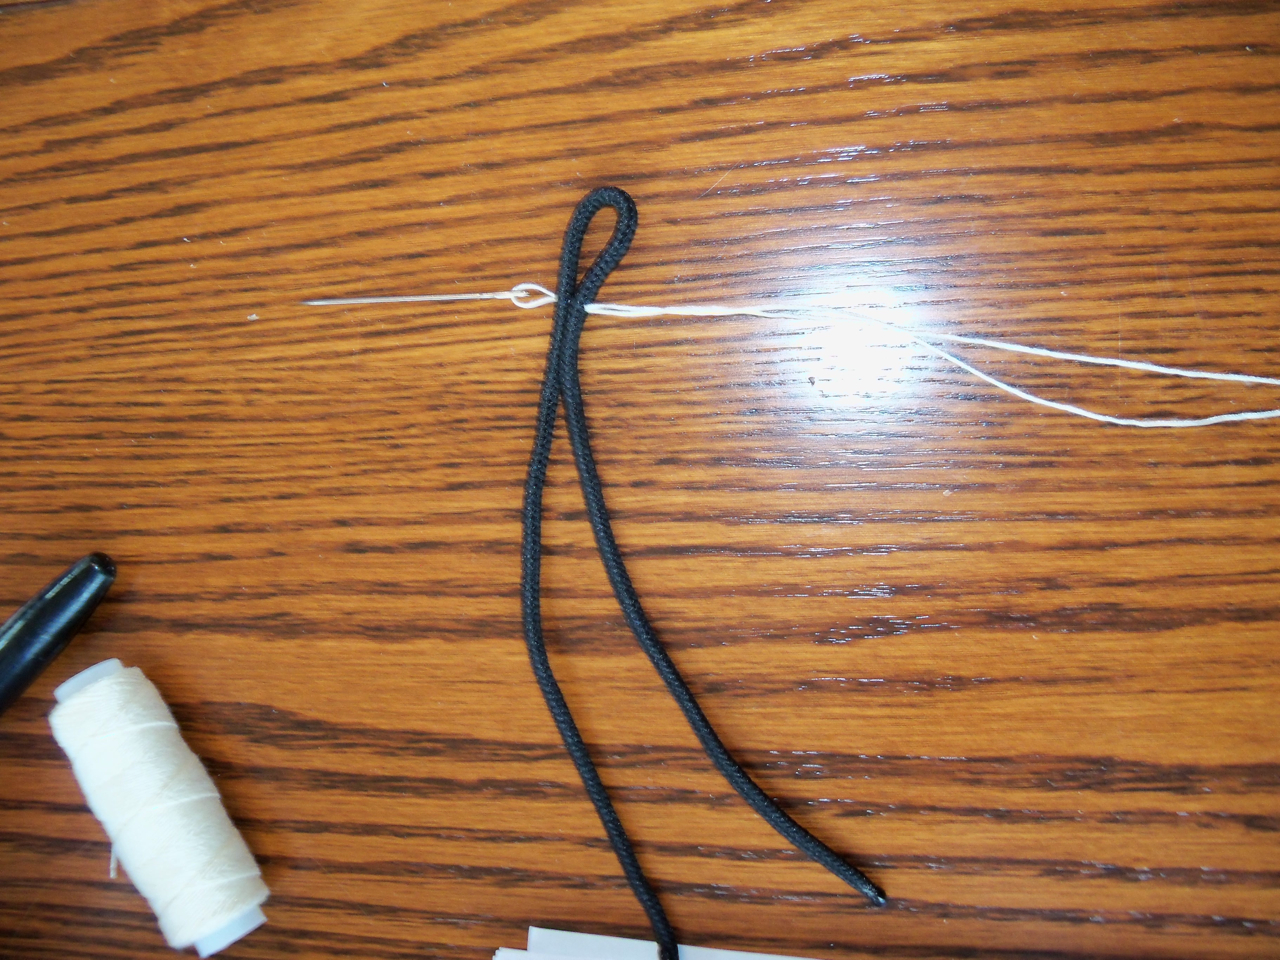
Start with a sturdy, non-stretch cord. I used boot laces. I used a piece about 10 - 11" long.  Create a loop about 1" long, then sew the loop closed by running the thread through both laces. 
Wrap the thread around the laces 5 or 6 times. Then, tie it off securely. 
I wanted to make a long switch, so I bought the longest hair I could find in my color (30"). 

Get ready to start attaching the hair to the cord.

You are going to roll the hair around the cord and sew through the cord to attach the hair. 

The sew at regular intervals. 

Keep the spirals close together, overlapping a little. 


I used the back of the chair to keep the developing switch from getting tangled with the loose hair. 

I moved 2" sections of hair over the back of the chair at a time. This seemed to be a good amount to keep things somewhat tidy. 
As you get about 2" from the loop closure, start spreading the spiral out so that the  end of the switch won't be too bulky. 
One half done! Brush this out before doing the same thing to the second cord. 

2nd cord done! Brush these halves out separately. 


At this point, I think you could probably sew in a third cord, if you want a thicker switch. 
In fact, you could probably loop another piece of cord through the first loop and secure it like the original loop.  
Once all the pieces are done,  brush all the cords together. 


Start sewing hair around both cords just above the existing hair. 

Occasionally, sew through both cords. 

Sew the hair up to the beginning of the loop. 


If you have extra hair, start wrapping hair again around both cords. 
Make sure everything is secure. Then wrap the thread around the hair about 1/4" below the top level of the hair. (I forgot to take a picture of this last step.)
You can kind of see the thread wrapping around the outside of the switch in this shot. I created a second switch, then twisted both of them into rope braids. 

Then, with a little help from my talented friends, BOOM! instant hair!