First off...
Check out this super sweet parasol I got in Gettysburg this weekend! It should be a perfect accessory for the mourning costume.
 |
| "Sometimes, even smiling make my face ache!" - Frankenfurter |
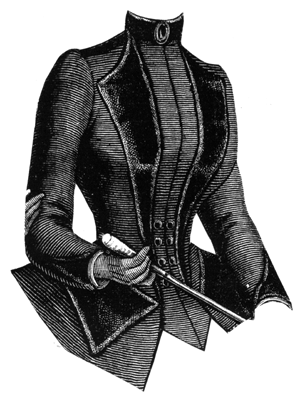
This weekend's progress
This weekend, I recopied the bodice pattern pieces so I would have a clean copy with last weekend's alterations. Then I decided to make a more complete muslin that would include everything but the non-functional trim.
As I learned recently, it really pays to test the muslin with the sleeves.
Ageless Patterns only come with the original pattern instructions. And it must be that in 1887, the base sewing knowledge must have been very different. Really, if you are an experienced sewer, the patterns can be reasoned through carefully, but in about every pattern, I have found something that stumps me for a while.
In this pattern, it was the process of attaching the basque (the hip skirt/peplum-ish bit). The pattern says "Attach the Basque from #7 to #8. Insert the Basque underneath the sides and front. Attach to front from #9 to #10." I found these directions to be insufficient to my needs. After much fiddling, here is the more detailed set of directions I came up with.
 |
| Bodice without the basque. On the left is the center front false vest, on the left is the edge of the postilion folded out. |
 |
| Step 1: postilion on left, basque on right. Sew Basque to Back Postilion from #7 to #8 |
 |
| Step 2: Iron the basque around the fold near #7 & #8 |
 |
| Step 3: Clip the seam open at #6 about 5/8" to allow the bottom edge of the bodice to turn up. |
 |
| Step 4: Fromt the outside, tuck the basque under the bodice edge and fold back over the postilion |
 |
| Step 5: Pin the basque to the bodice along bodice edge |
 |
| Step 6: Clip horizontally to #9 |
 |
| Step 7: From the outside, arrange the baque so that it overlaps the front smoothly & pin in place. Match #10 first. |
 |
| Step 8: Sew from the clipped edge near #9 to #10. (view from the inside. Sorry about the overexposed pic.) |
 |
| Step 9: Sew the Basque to the bodice. There will still be an opening near the postilion. This will have to be closed by hand later. You may also have a small gap at #9. Hopefully this can be covered by the revers. Finally, from the inside, tuck the basque under the postilion pleat and pin in place just to keep things tidy during the rest of the sewing. |
Other construction notes
The rest of the garment went together smoothly. Here are some pictures of the current muslin. There are some clear fitting problems on the dress form, but I need to try it on me before I get all worried. My shoulders and neck are different than the dress form's. I also need to try it on with the skirt. Right now, it looks like it's gapping in the weird way at my low back, but that room might be required by the
GIGANTIC BUSTLE on this skirt.